Roll 13 · 2 Attack / 2 Defense · Tier 5
- Base d100 roll: 13
- Gear bonus (guaranteed): +5 weapon · +2 armor → final roll 20 (Discord:
13 → 20) - Look up 20 on the Tier 5 table
- Band 19–27: take 2 hearts, deal 0 to the monster

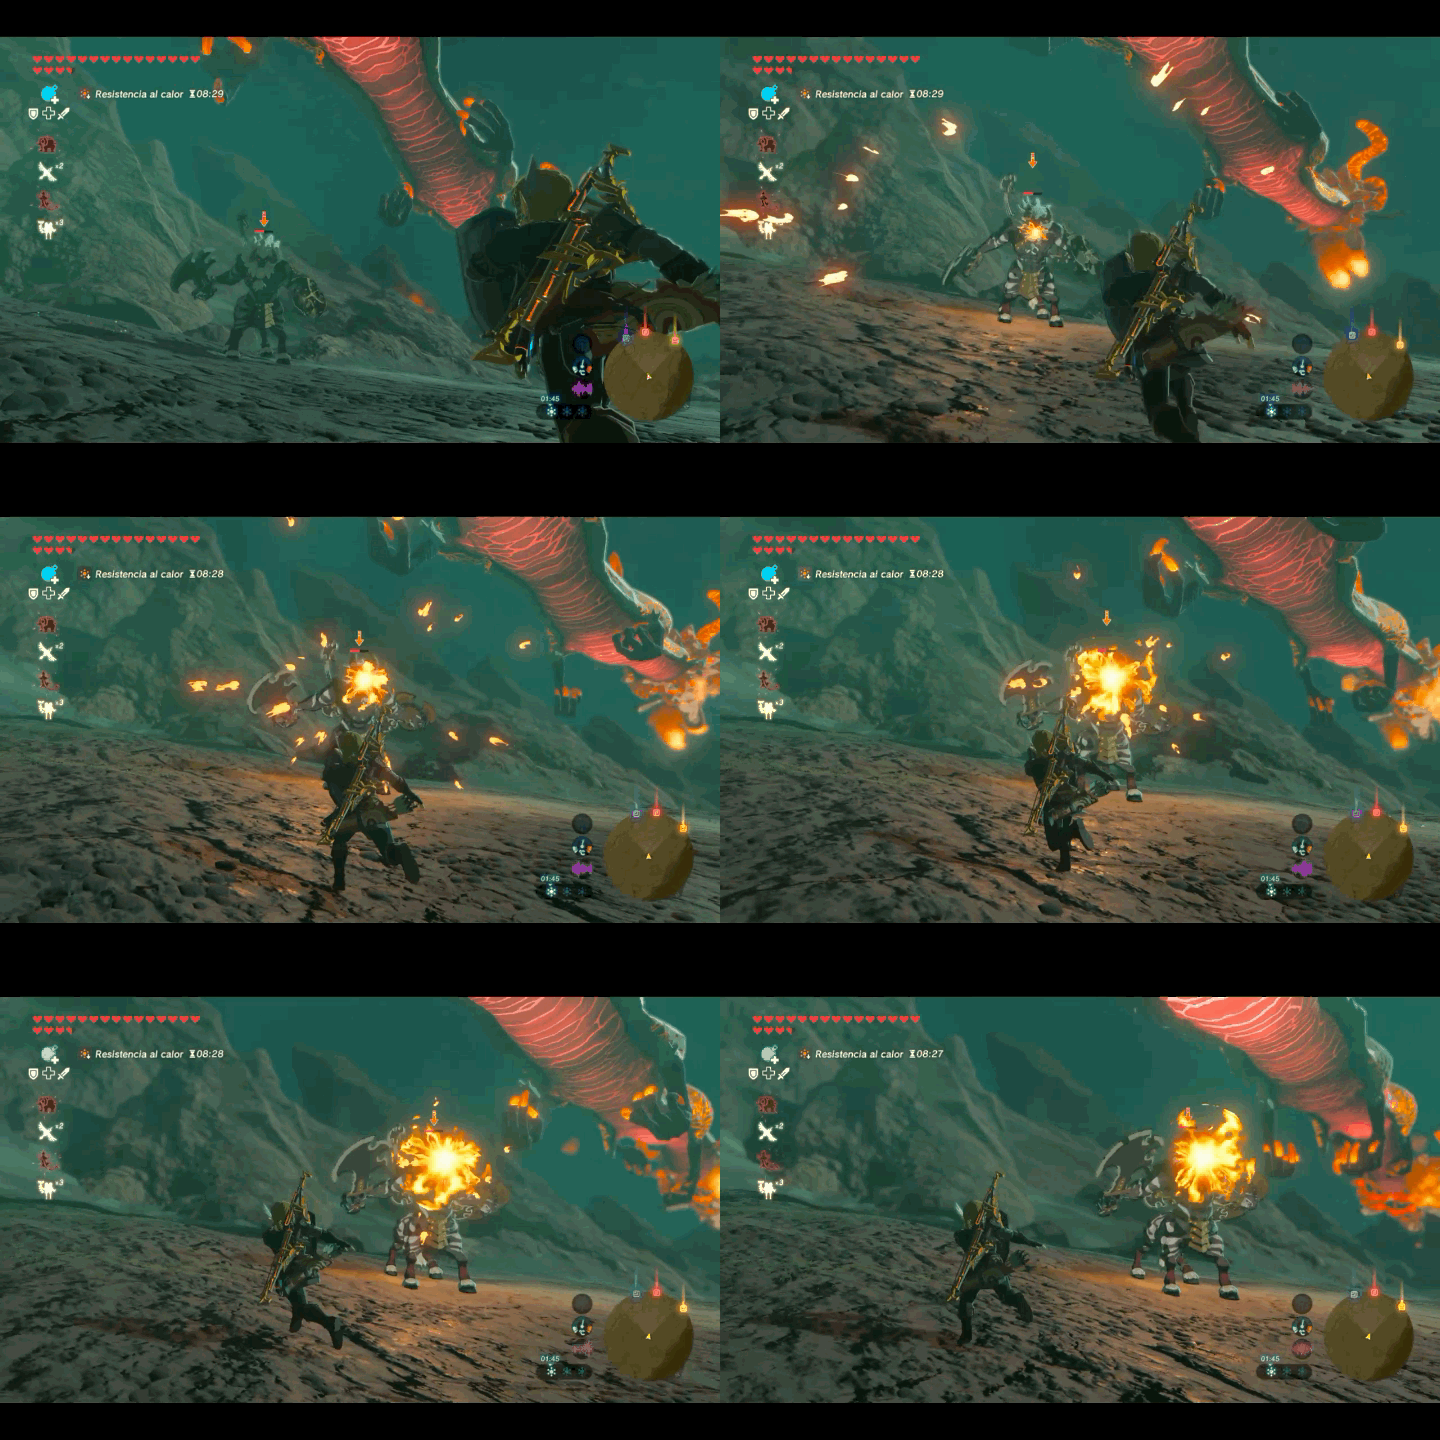
 High-tier monsters threaten the villages — rally fighters in turn order before the timer runs out.



Village-wide fights against high-tier monsters
Raids are events in which high-tier monsters threaten the villages in Roots of the Wild. Raids are most common during Blood Moons, but can also trigger randomly from server activity or village raid quotas. Fighters must be in the raid's village and work through a shared turn order to bring the monster down.
Beware! Raids can offer rare materials and powerful weapons, but failure to defeat the monster in time KOs every participant, grants no loot, and damages the village under attack.
/raid, /item, and Leave raidJoiningRaid ID, Raid role ping, village locationGameplayTurn order, KO, timer, and lootRaid CombatGear bonuses, rolls, and damage bandsHigh-Tier MonstersGolden foes, Lynels, and moreQuick reference
/loot during a Blood Moon can roll tiers 1–10, but only tier 5+ opens a raid/raid and /item in the raid thread when possible; /item also works in town hall threadsR482917)Use these in the raid thread when possible
When a raid triggers, the bot posts to the village town hall and opens a dedicated raid thread. Use /raid and /item there so the fight stays organized. /item is also allowed in town hall channels and their threads, but the raid thread keeps everything in one place.
Join a raid or take your turn. New joiners are added at the end of turn order. You only roll when it is your turn — joining mid-fight does not attack immediately unless the turn is already yours. Optional action: Leave raid (eligible leavers can still receive loot if they had 1+ damage or 3+ rounds).
Discord command
/raid raidid:[Raid ID] charactername:[character]
Examples
/raid raidid: R482917 charactername: Tingle | Rudania | Adventurer
/raid raidid: R482917 charactername: Tingle | Rudania | Adventurer action: Leave raid
Heal during a raid with Recipe items, or revive a KO'd fighter with a Fairy only. In village raids, using /item does not consume your turn — you can heal and then /raid on the same turn. Debuffed characters cannot use items unless boosted by a Healer.
Discord command
/item charactername:[character] itemname:[item] qty:[amount]
Examples
/item charactername: Tingle | Rudania | Adventurer itemname: Baked Apple qty: 1
/item charactername: Tingle | Rudania | Adventurer itemname: Fairy qty: 1
How raids begin and how to sign up your OC
A raid is most easily triggered by a /loot roll during a Blood Moon that lands on a tier 5+ monster. Lower tiers still resolve as normal loot encounters, not raids. Raids can also appear from random server activity or scheduled village raid quotas.
When a village raid starts, the bot announces it in the town hall and creates a raid thread. The thread pings the server's Raid opt-in role so members who want raid alerts can jump in. Your OC must be in the raid's village (current village must match) — residents and visitors in that village can join, but characters on an active expedition cannot join village raids.
Open the raid thread. The embed shows the monster, tier (5–10), monster hearts, time remaining, and Raid ID. Enter /raid, choose the Raid ID and your character, and send. You are added to the end of turn order. If it is already your turn, you attack immediately; otherwise you wait until the turn reaches you.
Strict turns, KO recovery, timers, and rewards
Turn order is strictly enforced. Only the current fighter may roll with /raid, unless they are a mod character. KO'd fighters stay in the order — when it is their turn they have 1 minute to use a Fairy or choose Leave raid. Everyone else has 1 minute to roll; missing your turn increments a skip counter, and two skips removes you from the raid with no loot, even if you dealt damage earlier.
High-tier monsters hit hard. If a monster's counterattack drops your character to 0 hearts, they are KO'd and cannot attack until revived. Only a Fairy removes KO status — other healing items cannot revive a KO'd fighter. Recipe items and Fairies can restore hearts before a KO happens.
Village raids use a tier-based timer: 10 minutes at tier 5, 20 minutes at tier 10, scaling linearly between. If time runs out, every participant is KO'd, no loot is awarded, and the village takes tier-scaled damage. The embed countdown updates as turns progress.
More fighters means more turns of pressure, but parties of 6 or more increase the monster's max hearts (+2 per fighter beyond 5), and each extra participant slightly penalizes individual combat rolls. Balance rallying allies with the tougher fight a large party creates.
/raid action; eligible leavers still receive loot on victoryHow gear and rolls decide hearts
Unlike regular looting or travel combat, raid gear always helps — there is no random chance for your weapon or armor to apply. Every /raid turn adds your Attack and Defense stats to the d100 roll.
The embed shows your final roll as dice → gear total (for example 68 → 93). Match that gear total on the tier table below — with strong gear, rolls in the top bands can deal up to 3 hearts even on tier 10.
floor(3 × 2.5)) and +2 from armor (floor(2 × 1.1)), guaranteed every turn.Your Discord roll is dice → gear total (e.g. 68 → 93). Hearts use that gear total on the tables below — no hidden subtract. Strong gear can push you into the top bands (up to 3 hearts dealt) on any raid tier.
Large parties also apply a small penalty to the base d100 before gear: −1 per fighter beyond the first, plus −0.5 per monster tier above 5 (total cap 15). Blight stage 2 multiplies the base roll by ×1.5 before gear is added.
These walk through the same math the bot uses. The final gear roll is what picks your heart band.
13 → 20)29 → 38)65 → 74)Find your gear total from the raid embed in the table for the monster's tier. That row tells you how many hearts you take and how many you deal.
| Roll (dice + gear) | You take | Monster takes | Notes |
|---|---|---|---|
| 1–9 | 5 ❤ | — | |
| 10–18 | 3 ❤ | — | |
| 19–27 | 2 ❤ | — | |
| 28–36 | 1 ❤ | — | |
| 37–54 | 1 ❤ | — | You attack; monster dodges — you still take 1 |
| 55–63 | — | — | You attack; monster dodges — no damage either way |
| 64–72 | — | 1 💙 | You dodge the counter and hit for 1 |
| 73–81 | — | 1 💙 | |
| 82–90 | — | 2 💙 | |
| 91–100 | — | 3 💙 |
| Roll (dice + gear) | You take | Monster takes | Notes |
|---|---|---|---|
| 1–9 | 6 ❤ | — | |
| 10–18 | 4 ❤ | — | |
| 19–27 | 3 ❤ | — | |
| 28–36 | 2 ❤ | — | |
| 37–54 | 1 ❤ | — | |
| 55–63 | 1 ❤ | — | You attack; monster dodges — you still take 1 |
| 64–72 | — | 1 💙 | You dodge the counter and hit for 1 |
| 73–81 | — | 1 💙 | |
| 82–90 | — | 2 💙 | |
| 91–100 | — | 3 💙 |
| Roll (dice + gear) | You take | Monster takes | Notes |
|---|---|---|---|
| 1–9 | 7 ❤ | — | |
| 10–18 | 5 ❤ | — | |
| 19–27 | 4 ❤ | — | |
| 28–36 | 3 ❤ | — | |
| 37–45 | 2 ❤ | — | |
| 46–54 | 1 ❤ | — | |
| 55–63 | 1 ❤ | — | You attack; monster dodges — you still take 1 |
| 64–72 | — | 1 💙 | You dodge the counter and hit for 1 |
| 73–81 | — | 1 💙 | |
| 82–90 | — | 2 💙 | |
| 91–100 | — | 3 💙 |
| Roll (dice + gear) | You take | Monster takes | Notes |
|---|---|---|---|
| 1–9 | 8 ❤ | — | |
| 10–18 | 6 ❤ | — | |
| 19–27 | 5 ❤ | — | |
| 28–36 | 4 ❤ | — | |
| 37–45 | 3 ❤ | — | |
| 46–54 | 1 ❤ | — | |
| 55–63 | 1 ❤ | — | You attack; monster dodges — you still take 1 |
| 64–72 | — | 1 💙 | You dodge the counter and hit for 1 |
| 73–81 | — | 1 💙 | |
| 82–90 | — | 2 💙 | |
| 91–100 | — | 3 💙 |
| Roll (dice + gear) | You take | Monster takes | Notes |
|---|---|---|---|
| 1–9 | 9 ❤ | — | |
| 10–18 | 7 ❤ | — | |
| 19–27 | 6 ❤ | — | |
| 28–36 | 5 ❤ | — | |
| 37–45 | 4 ❤ | — | |
| 46–54 | 1 ❤ | — | |
| 55–63 | 1 ❤ | — | You attack; monster dodges — you still take 1 |
| 64–72 | — | 1 💙 | You dodge the counter and hit for 1 |
| 73–81 | — | 1 💙 | |
| 82–90 | — | 2 💙 | |
| 91–100 | — | 3 💙 |
| Roll (dice + gear) | You take | Monster takes | Notes |
|---|---|---|---|
| 1–9 | 10 ❤ | — | |
| 10–18 | 8 ❤ | — | |
| 19–27 | 7 ❤ | — | |
| 28–36 | 6 ❤ | — | |
| 37–45 | 5 ❤ | — | |
| 46–54 | 1 ❤ | — | |
| 55–63 | 1 ❤ | — | You attack; monster dodges — you still take 1 |
| 64–72 | — | 1 💙 | You dodge the counter and hit for 1 |
| 73–81 | — | 1 💙 | |
| 82–90 | — | 2 💙 | |
| 91–100 | — | 3 💙 |
The foes that threaten villages during raids
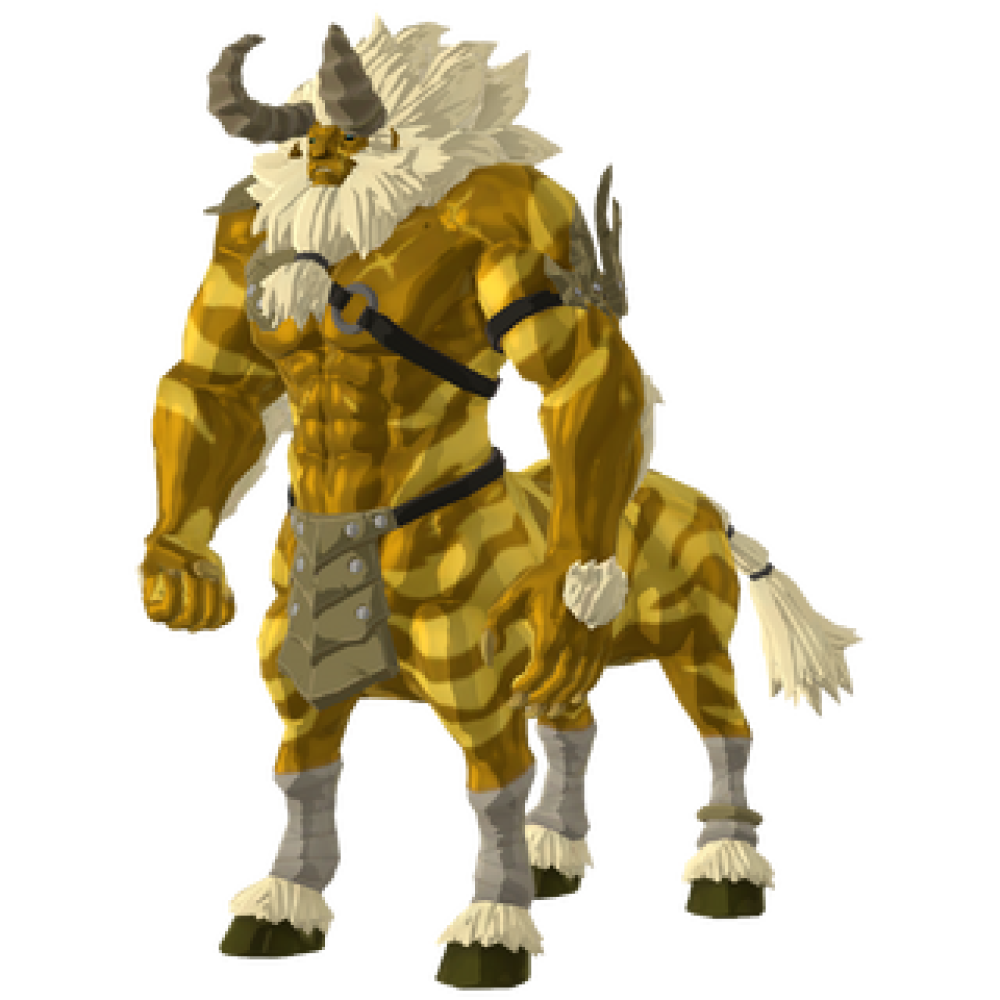
More powerful than their Red, Blue, Black, and Silver counterparts, Golden Monsters pose a serious threat to the village when they attack. Beware their swift and powerful strikes, and never let your guard down against these powerful foes.
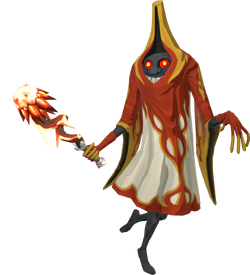
None are certain of why certain Wizzrobes carry more powerful magic than others. But rest assured, when a Wizzrobe strikes a village on the night of a Blood Moon, they leave elemental destruction in their wake.
Regional Exclusives
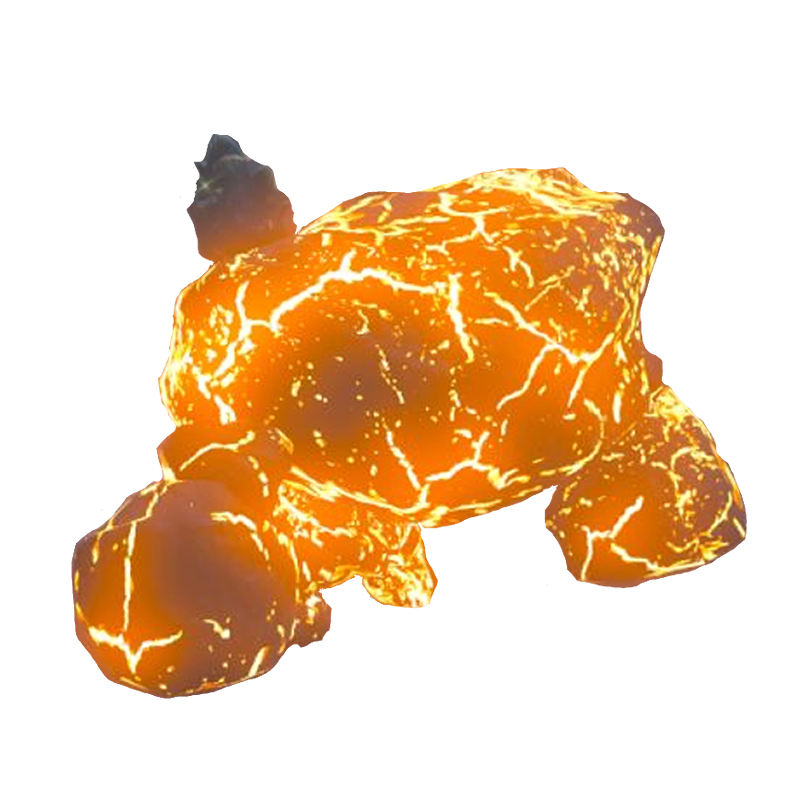
Large boulders that spring to life amidst the ruins of Hyrule. Possessing neither blood to spill, nor bone to break, Talus lumber sluggishly towards the village gates. What they lack in strategy they make up for in brute force. One should be glad that monster hunters have long since discovered their critical weak point…
Regional Exclusives
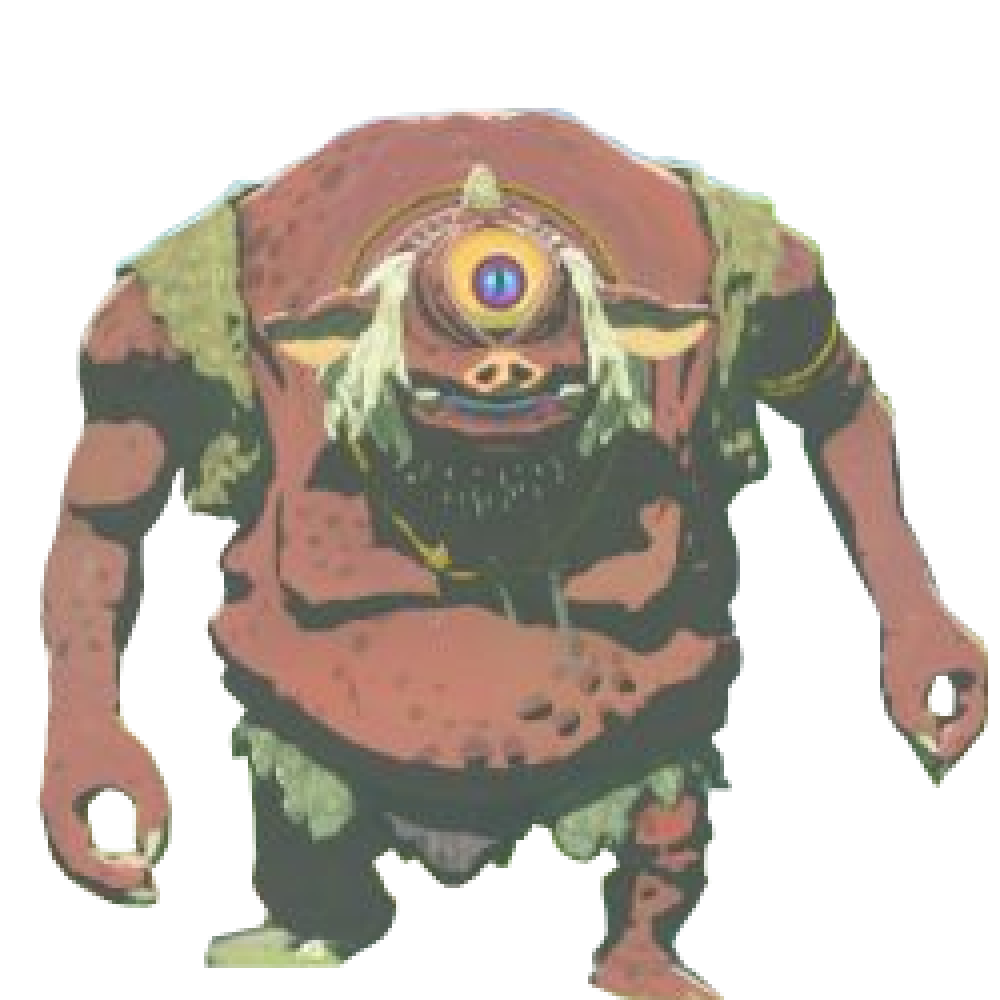
Great lumbering giants that possess far more strength than brains. Hinox are known to rip up trees by their roots and use them as weapons against swarms of fighters. Its Stal version, Stalnox, is known to be more fragile, but no less formidable.
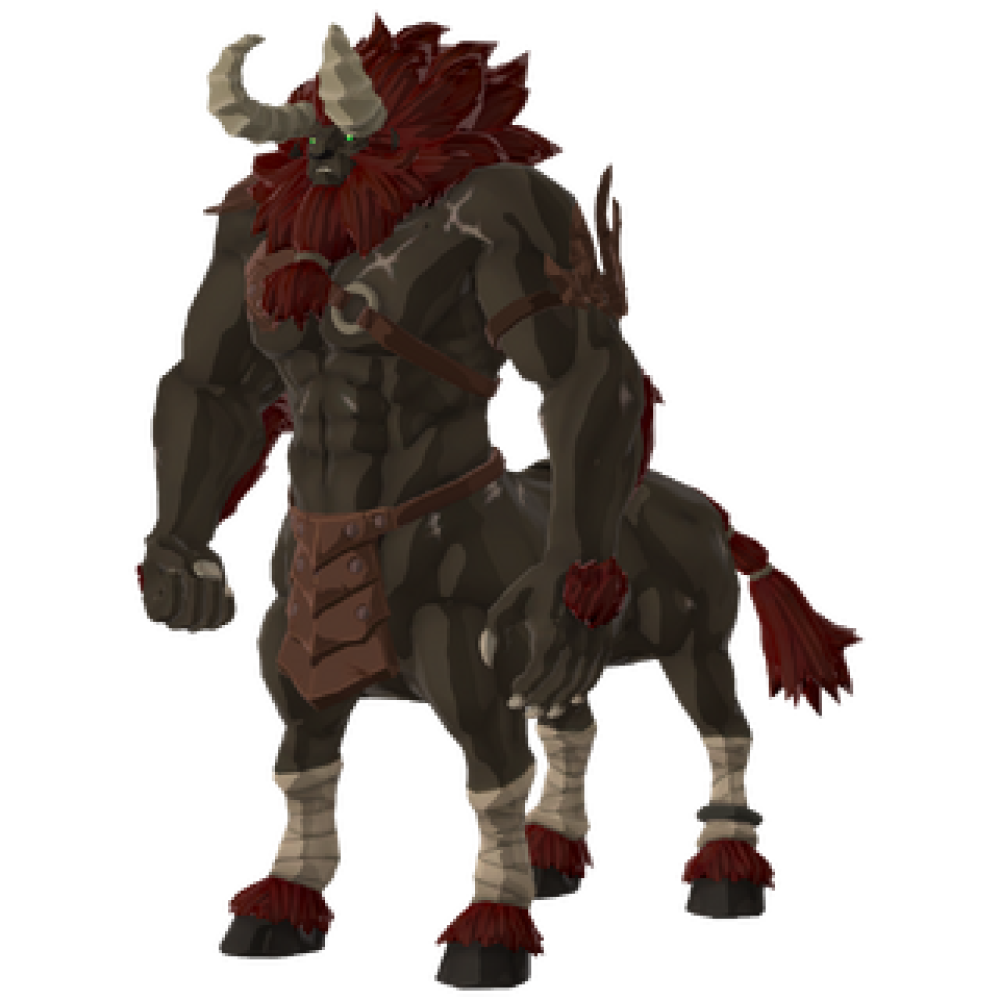
None can argue that the apex predator of monsters are Lynels. Sporting powerful bodies capable of wielding weapons ranging from bows to swords to clubs, they are some of the most dangerous foes to attack the villages. Their speed is unparalleled, and the act of taking one down is a feat of great courage, wisdom, and power.
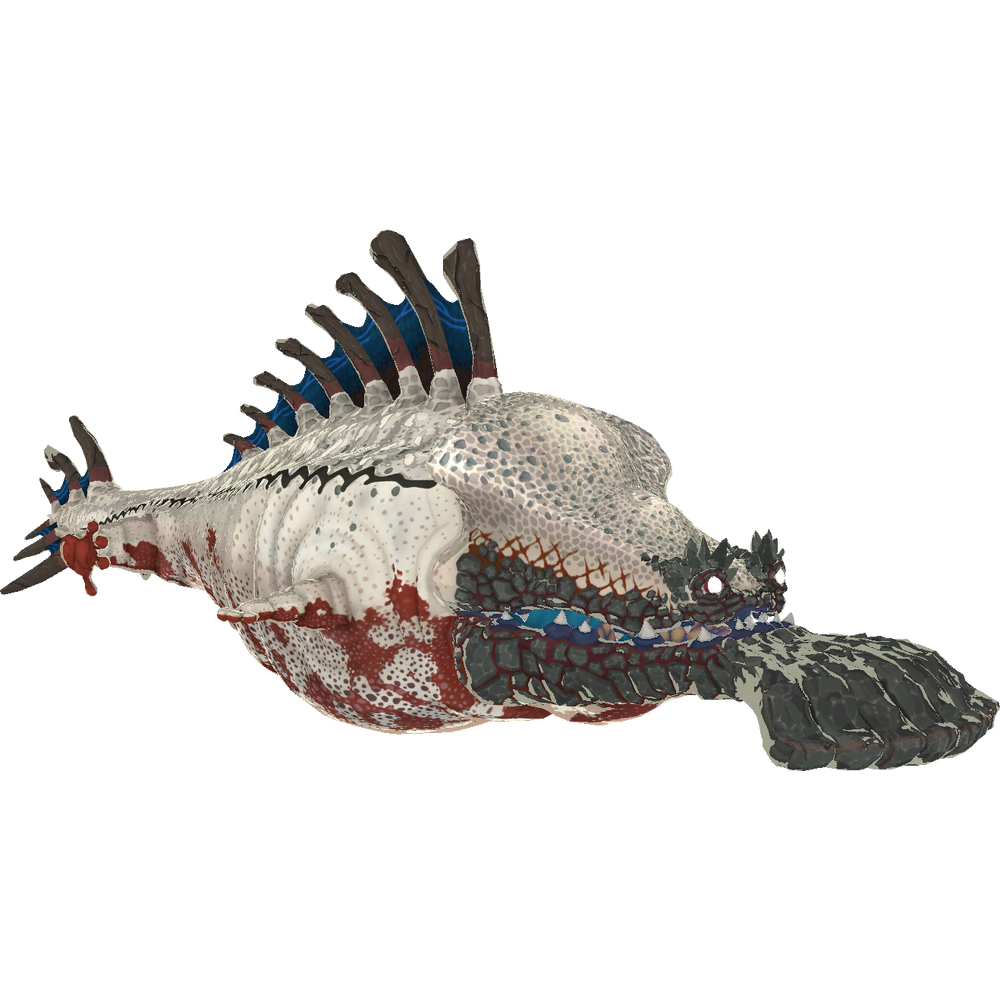
Hailing from a faraway region in Hyrule, Molduga and Molduking are known for their ability to emerge seemingly from nowhere from the depths of the sand. Their arrival shakes the ground and surrounding cliffs, and it's said that by the time you spot it, it's already too late.
Regional Exclusives
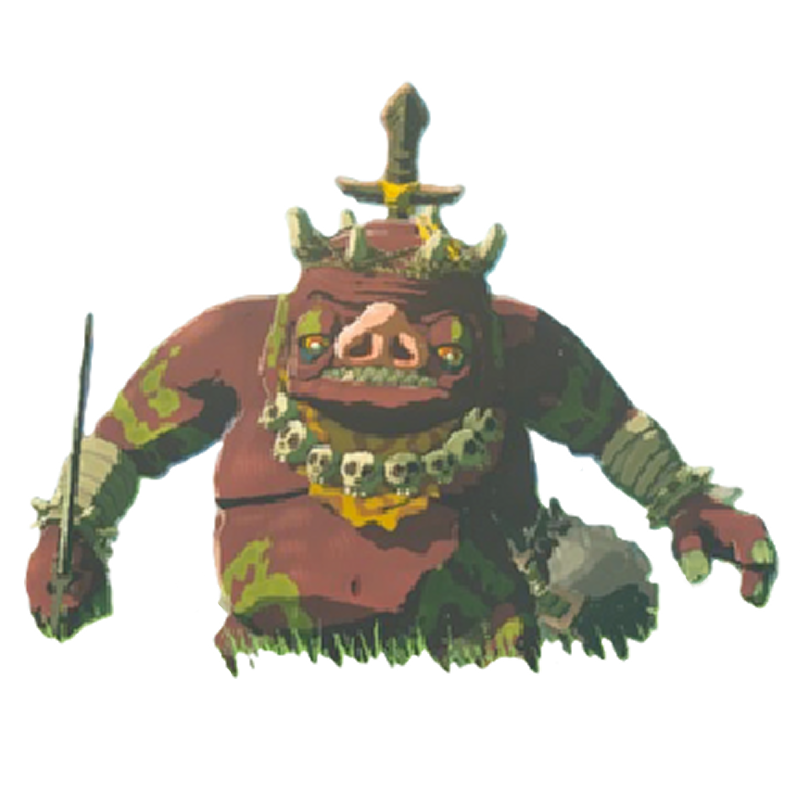
Boss Bokoblins are rarely seen without a squadron of regular Bokoblins. They often hide behind their allies, protecting themselves while they issue their orders. A Boss Bokoblin's squadron will risk everything to protect their leader and are unusually organized, leading this monster to be one of the most dangerous to encounter.
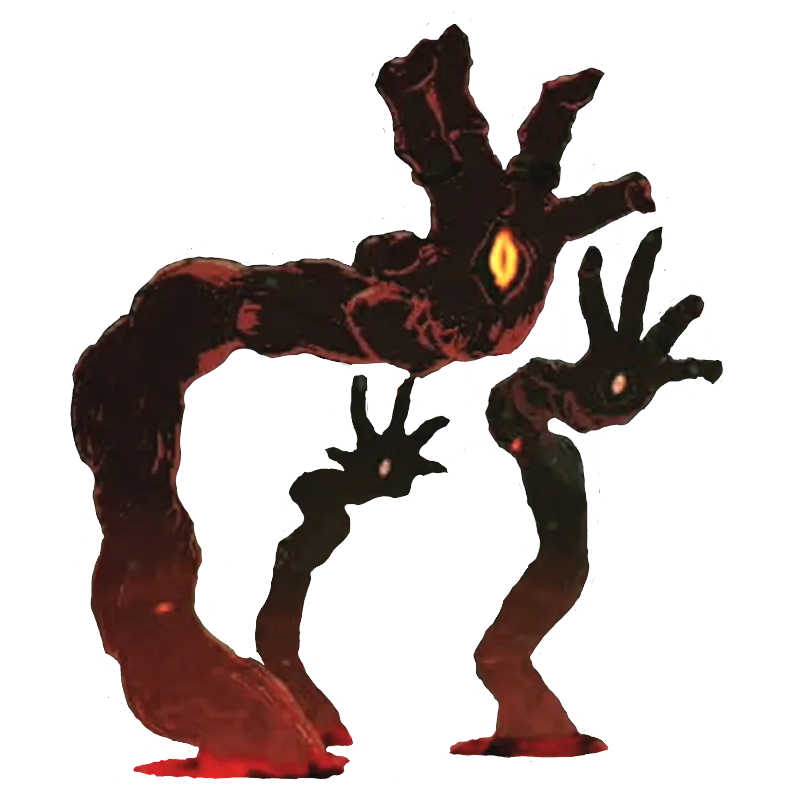
Malice, taken shape. Gloom Hands appear from the Blight itself, attacking indiscriminately. Due to its nature of emerging from Blight, this foe is capable of infecting those that fight it with Blight — especially after a victorious raid.